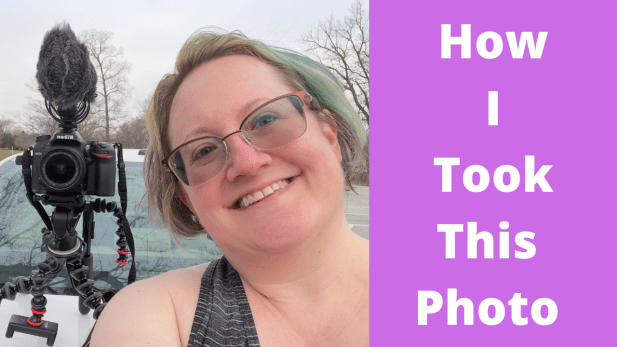
Today’s video shows you the steps I had to take to get the photo on my channel’s banner image.
The Joby Gorilla pod is heavy for me, as a woman. Is this the case for you?
Trying to figure out what focal length to film, how to pan on a tripod, frame rates, etc. I realize that the cell phone is much easier to film on than the DSLR setup with the Joby Gorilla Pod.
My first vlog with the Nikon D7200 DSLR camera on the Joby Gorilla Pod. I didn’t bring my external monitor with me to the park because it added more weight. I had no idea if I was in focus or not when I am filming. Turns out I was in focus. I also figure out where to look into the camera lens by seeing my reflection in the lens and that lets me know where to look. I do wish this camera had a flip-out screen like the mirrorless cameras have like Sony and Canon.
I don’t understand how photographers and cinematographers like Peter McKinnon and Matti Haapoja carry the whole setup around with their cameras and handheld tripods—and they film on a One-wheel? That’s amazing! I admire both of you. I can barely stand up straight here!
I show the Rode Video Micro vlogger kit for my Apple iPhone 13 Pro Max.
I observe that the setup is basically the same for both setups: the cell phone and the DSLR, the tripod and the microphone and windscreen for the microphone. The image quality is the variable.
I figure out that shooting cell phone footage is good for headshots, and that I can use the DSLR for B-roll shots.
I’m proud of myself for taking a risk and getting out to the park on the DSLR.
Sorry about the noise from the Chesterton, Indiana and Porter, Indiana trains! LOL! Tell the town to pay for the silencing systems for the Quiet Zones so that Sarathlete can get better audio with no train whistles in the background.
My Apple/Mac setup (iPhone, Cloud, Mac, iMovie) takes a lot longer to sync if I film a lot of footage on the iPhone. Syncing to the cloud takes forever for my computer. It’s awful. What about you? I have an old Mac from 2016 and maybe that’s why the transfer process is so slow.
Transferring video files from the SD Card on my Nikon D7200 DSLR to my Mac is MUCH faster than filming on the iPhone and waiting for the footage to sync, especially if you are ready to jump in and edit right away. I don’t have that option with iPhone footage unless I attempt to edit the footage directly on my iPhone. Yikes for me! Do you edit on your laptop or iPad or iPhone?
I’m shy and trying to build confidence and repetition with what I’m doing. Practice makes perfect. Taking baby steps and building confidence to vlog outside at the park was a big deal on 3/21/22. I was really proud of myself for being vulnerable and getting myself out there and putting this footage online to show that it’s ok to be a beginner. We all start somewhere.
And at the end you see me get take the photo that I have on my banner image on my YouTube channel. The money shot! That photo means so much for me because it represents the courage and bravery it took to get out there and try something new.
What a fun day this was!
Thank you for watching!
Sarathlete
YouTube Video URL: https://youtu.be/sS2O0Qf57hk
SAY HELLO ON SOCIAL:
Instagram: https://www.instagram.com/sarathlete/
Twitter: https://twitter.com/sarathlete
TikTok: https://www.tiktok.com/@sarathlete
LinkedIn: https://www.linkedin.com/in/sarasd/