Here we are on day 2 of making our own almond milk!
On day 1 we soaked our nuts to soften them to get them ready for the blender as you can see below. The nuts are soft so any sturdy blender will work. High speed blenders like the Vitamix or household blenders like my pink Kitchenaid will work!

Other items you will need tonight besides a blender include cheesecloth or nut milk bag, colander, water and water.
Alright now let’s make our milk!
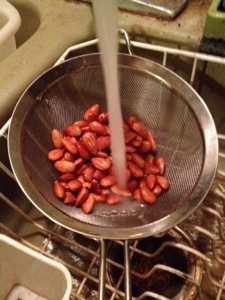
First, strain the almonds that were soaking into a colander. If you touch one you will notice how much softer they are now. Give the nuts a quick rinse with some fresh water.
Second, put the nuts into the blender along with three cups of fresh water. Do not use the water you used for soaking—it’s dirty and you want to start fresh!

Third, blend water and almonds together.
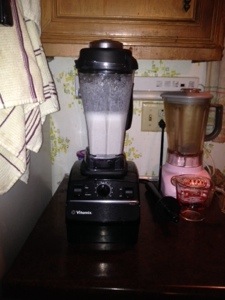
Now you’ve got almond milk! How easy was that? Easy!
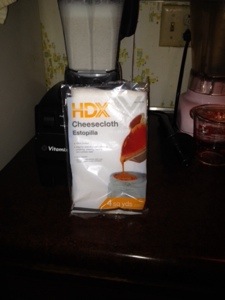
Here’s the last step. We need to clean our milk out a bit. We’ve got nut pulp in there. So now we will take a nut milk bag or some cheesecloth and put it over a bowl or large measuring glass to catch the milk.
Here’s cheesecloth from Home Depot:
Here’s a nut milk bag I ordered from Amazon:
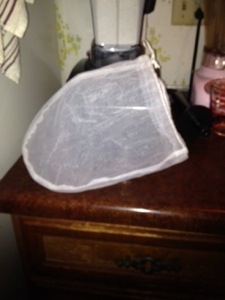
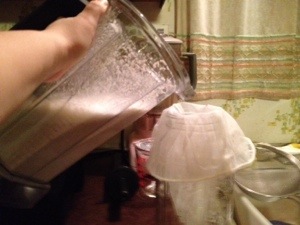
I’m going to continue on using my nut milk bag. See below where I drape my bag over my large measuring glass:

Take the blender and pour the milk out of the blender and into the container with the cheesecloth or nut milk bag. Do not overfill!
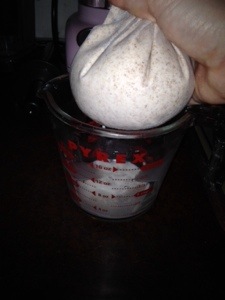
Next pick up the sides of the bag and slowly lift the sides of the bag upwards and lift it out of the container:

Last step is to softly squeeze the the bag and watch the nut separate from the nut pulp. You will start with a fat, puffy bag. When you’re finished squeezing the clarified milk out from the pulp you will have a super, skinny bag. See below.
Fat, puffy bag:
Squeeze the bag softly at first. The milk will become projectile if you squeeze too hard.
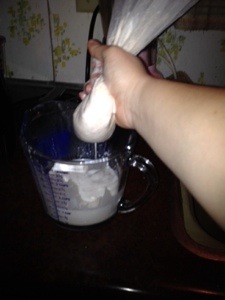
Super, skinny bag:

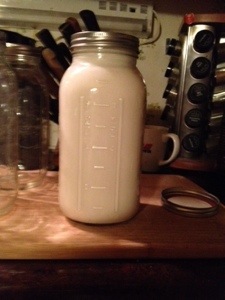
All that’s left to do is pour your clarified nut milk into a storage container like a Mason Ball jar. Put the container in the fridge and let chill to use later.
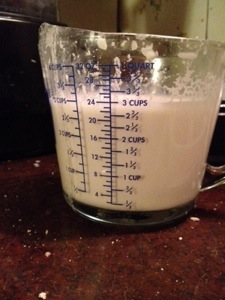
Here’s the milk separated from the pulp:
Here’s the pulp:

Sexy nut pulp close up picture:

The one cup of nuts soaked, blended with three cups of water and separated from the pulp gives you three cups of almond milk:

If you want more milk then soak more nuts like we did yesterday and blend with the one cup of nuts and three cups of water ratio.
I got nutty and made lots of milk for myself!
Last week it took me an hour and thirty minutes to make enough for the week. It’s so easy to make!
The milk tastes fairly bland because it is just nuts and water at this point.
Check out tomorrow’s final post on making your own almond milk and we will go over what you can do with the fresh almond milk you’ve created.
Thanks for getting nutty with me!
Sara Sawochka
